Fix My Ear Speaker
Ear Speaker, Clear Calls!
0%
MODE
The search to fix my ear speaker starts with dust, moisture, routing glitches, or hardware issues in the ear piece. The fastest solution to the ear speaker issue comes from targeted checks (call volume, audio routing, restart), safe cleaning (brush or acoustic vibration), and repair or replacement.
Built-in diagnostics, Bluetooth resets, and codec/routing resets isolate software faults, while acoustic cleaning using online tools and careful manual methods clear muffling and crackle without disassembly.
You can use our ear speaker dust and moisture cleaning tool to restore clear audio in your phone in less than 5 minutes. Want to know how to use our tool? Keep reading to find out more!

What Is an Ear Speaker in Mobile and Why Does It Matter?
When you hold your smartphone to your ear during a call, the tiny ear speaker (also called an earpiece or earpiece speaker) is what lets you hear the other person’s voice. It’s located right above the screen, separate from the main speaker that plays music, videos, or speakerphone audio.
These two aren’t built the same. The main speaker is designed for louder, fuller sound. That’s where bass comes through.
On the other hand, the ear speaker is tuned for voice. Inside that tiny speaker, there’s a voice coil (basically copper wire wound around a cylinder) sitting next to a permanent magnet.
When your phone sends electrical signals through that coil, it creates its own magnetic field that pushes and pulls against the permanent magnet. This back-and-forth movement vibrates a tiny diaphragm, which creates sound waves.
Your main speaker handles everything from deep bass to high treble (roughly 20Hz to 20kHz), your earpiece focuses on voice frequencies between 300Hz and 4kHz. That’s why you get clarity in conversations but not booming sound.
Common Ear Speaker Problems That Need Fixing
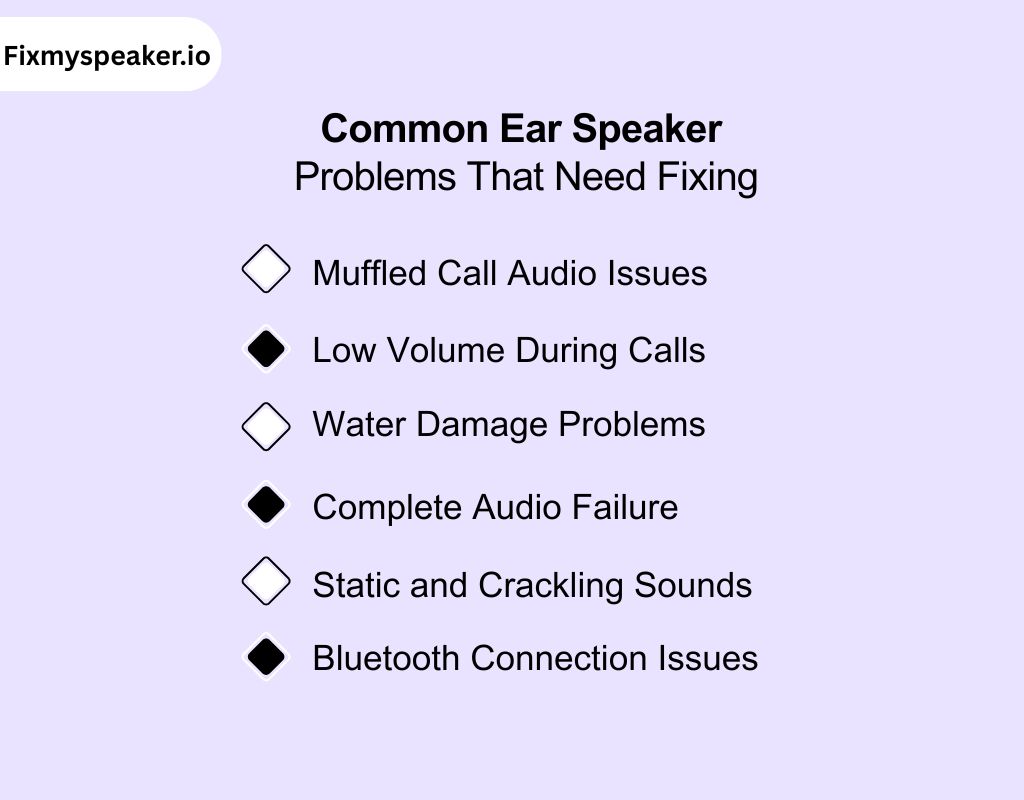
Most ear speaker issues fall into six main categories that can make phone calls absolutely miserable. Here’s what’s actually happening, and why you might be wondering how to fix my ear speaker:
Muffled Call Audio Issues
When you’re struggling with unclear, distant-sounding calls, you’re dealing with sound issues, and you should be searching for how to fix my ear speaker sound problem.
This problem can arise due to dust particles getting lodged between your earpiece diaphragm and the speaker grill. Those tiny particles block the diaphragm’s natural movement, preventing it from vibrating properly.
You might hear anything from slightly muffled voices to completely distorted conversations that make you want to hang up immediately.
Low Volume During Calls
Even when you max out your phone settings, you still can barely hear the caller. This volume problem happens because of electromagnetic field disruption inside your earpiece.
When dust or moisture interferes with the voice coil’s magnetic field, it seriously reduces power output. Your phone speaker not working at full capacity means you should be looking for how to fix my ear speaker volume.
Water Damage Problems
After your phone gets wet from a spill, rain, or accidentally dropping it near water, you’ll notice weird audio behavior. This issue arises because moisture affects membrane vibration. Even a tiny water drop changes the weight and flexibility of that delicate diaphragm.
This disrupts the entire frequency response, making voices sound robotic or completely cutting out during calls. If you’re trying to fix my ear speaker water problem, the first step is getting rid of that trapped moisture.
Complete Audio Failure
This is when your earpiece just stopped working entirely. You can’t hear anything during calls, forcing you into speaker mode for every conversation. The tricky part is figuring out if this is hardware failure or just a software glitch.
Sometimes a simple restart fixes everything. Other times, you’re looking at actual component failure that needs professional help.
Static and Crackling Sounds
Those annoying electrical noises during calls, like buzzing, popping, and crackling! These electrical interference problems usually occur from moisture creating tiny short circuits or debris causing irregular connections.
Bluetooth Connection Issues
Your calls keep routing to Bluetooth devices that aren’t even connected anymore. Or your phone thinks it’s paired to a headset that’s sitting in another room. These routing problems happen when your phone gets confused about audio output priorities.
How to Check Phone Ear Speaker
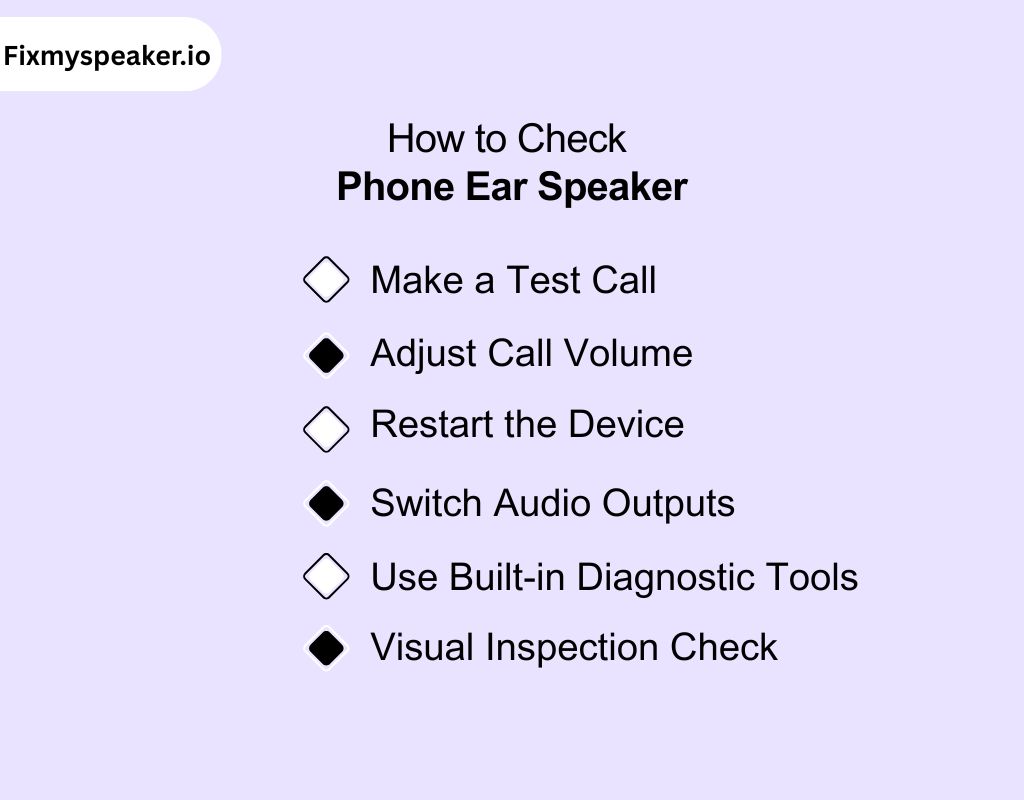
Running proper diagnostic tests saves you time and prevents unnecessary repairs. Here’s how to systematically check your earpiece using some tests that work on any device:
Make a Test Call
Call your voicemail or a friend. This isolates the ear speaker since audio routing is different from the loudspeaker. Your voicemail gives you consistent audio to evaluate.
If voices sound robotic, muffled, or cut in and out, you’ve identified an earpiece problem. Try calling different numbers to rule out network issues.
Adjust Call Volume
On an iPhone (including the iPhone 11, iPhone 12 earpiece, or iPhone 13 Pro), use the side buttons during a call, not just in the main settings. The in-call volume control is separate from your media volume and directly tests earpiece output.
On Android or Samsung Galaxy devices, check the in-call slider directly. Gradually increase volume and listen for crackling, distortion, or if the sound remains too quiet even at maximum levels.
Restart the Device
Software bugs in both iOS and Android often reset when you reboot. This simple step eliminates temporary glitches that might be affecting audio routing or volume controls.
Switch Audio Outputs
Test between the speakerphone and the ear speaker during the same call. If you hear sound clearly on the speakerphone but not on the earpiece, the problem is localized to your earpiece hardware.
Use Built-in Diagnostic Tools
For Samsung devices, dial *#0*# to access the hidden diagnostic menu. Tap “Speaker” and listen to the test tone through your earpiece. The tone should be crisp without distortion.
For iPhone models, use the Voice Memos app as a diagnostic tool. Record a short message, then play it back while holding the phone to your ear. The playback quality reveals the earpiece condition immediately.
Visual Inspection Check
Examine your earpiece grill with a flashlight. Look for dust, lint, or debris blocking the tiny speaker holes. Use compressed air to blow out visible particles.
Never use a toothbrush directly on the speaker mesh; bristles can push debris deeper inside. Check for moisture indicators around the earpiece area that might signal water damage.
How Do I Fix My Ear Speaker (A Step-By-Step Solution)
You now know that ear speaker problems don’t always share the same cause. Sometimes it’s moisture, sometimes it’s dust, and sometimes it’s just software acting up.
The fixes below cover the most common issues across iPhones, Samsung Galaxy, and other Android devices:
Using Our Tool for Ear Speaker Cleaner Sound
Need the fastest solution for clogged ear speakers? Our tool can fix clogged speakers with acoustic cleaning. The tool uses sound wave physics to generate specific frequencies that create tiny vibrations inside the mesh.
To create the vibration, we offer two methods: sound and vibrate. Those vibrations loosen debris and shake out water droplets you can’t see.
Here’s how to use our online cleaning method to fix my ear speaker’s cleaner sound:
- Open our sound-based tool. Unlike conventional cleaning methods, our system generates specialized high-frequency square and triangular waves to create more aggressive vibration patterns in the diaphragm.
- Set your device on a flat surface, face up. This position helps gravity work with the vibrations to move particles outward.
- Run the cleaning sound for up to 30 seconds. You may hear strange buzzing or oscillating tones; that’s the diaphragm vibrating.
- Now check for clarity. You can make a test call. If sound improves, repeat the process twice or thrice for a deeper clean.
- For this process, you need to keep the speaker dry. This method won’t work well if the grill is still damp. Wipe it down and let it sit before trying again.
- Once it’s done, wipe the earpiece area gently with a dry cloth to remove any debris that worked its way to the surface.
Fix My Ear Speaker iPhone Solutions
Apple engineers their earpieces with incredibly tight electromagnetic tolerances and integrate them directly into the Face ID sensor assembly. This precision design makes iPhone repairs trickier than other phones, but you’ve got several options before considering replacement:
Basic iOS Audio Troubleshoot
Start with the basics. iOS audio settings can get scrambled during updates. Here’s what to do:
- Go to Settings → Sounds & Haptics and slide the call volume all the way up.
Sometimes iOS separates call volume from media volume, and one gets muted while the other works fine.
For persistent issues, try resetting your audio pathways. A simple restart clears most temporary glitches, but if problems persist across multiple apps, you’re looking at hardware rather than software issues.
Advanced Cleaning for Fix My Ear Speaker Dust Sound iPhone
IF you’re looking for how to fix my ear speaker dust sound iPhone, cleaning becomes more delicate due to the sensor assembly integration. Use a soft brush around the earpiece grill, avoiding the Face ID sensors completely.
In case you’re comfortable with precision work, lightly dampen the brush with isopropyl alcohol. It evaporates quickly and won’t damage components when applied sparingly. The key is keeping everything dry while still being thorough enough to clean the speaker effectively.
Warranty and Professional Repair Considerations
If your device is still under AppleCare, don’t attempt any risky disassembly work! Contact Apple Support instead, as they may replace the entire sensor module under warranty.
As the earpiece speaker on my iPhone is permanently integrated with Face ID, DIY repairs can often disable both functions. For experienced users, iFixit provides detailed guides for OEM part replacements.
But understand that even professional repair shops sometimes struggle with sensor assembly integration. The electromagnetic design requires factory-level calibration to function properly.
Fix My Ear Speaker Samsung and Android Methods
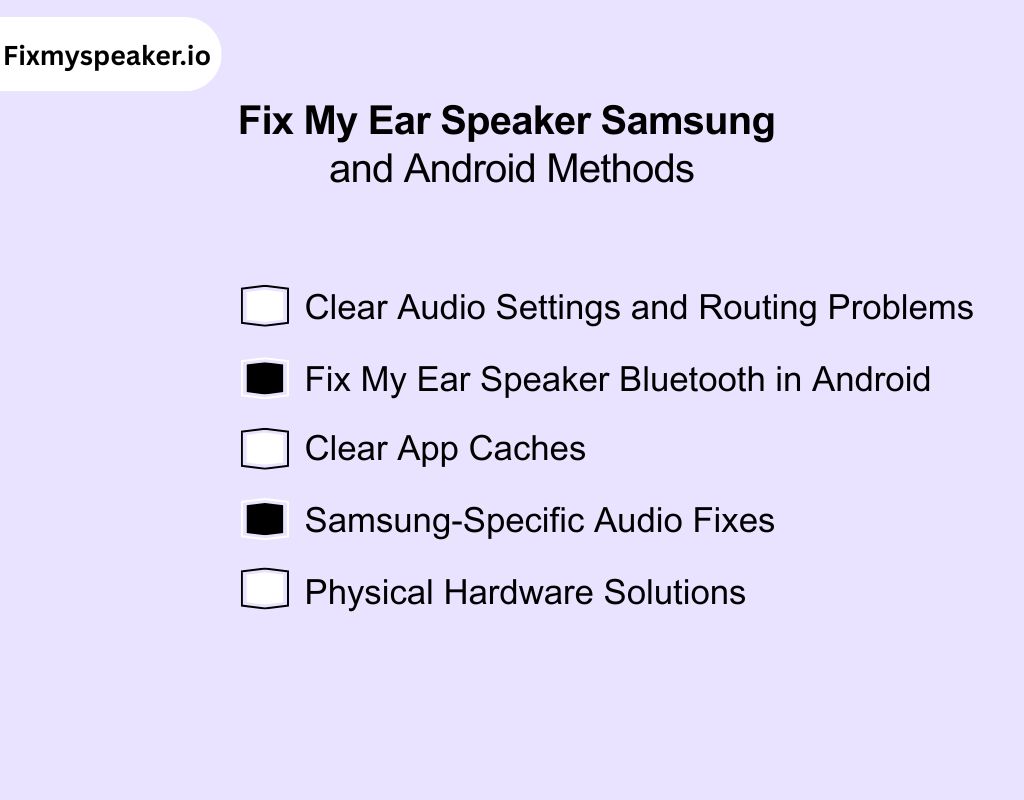
Samsung and other Android manufacturers handle call audio routing completely differently than Apple devices. The galaxy line processes signals through separate pathways, which creates different troubleshooting opportunities but also different failure points.
Clear Audio Settings and Routing Problems
Reset audio routing settings immediately. Here’s how:
- Go to Settings → Sounds and vibration → Separate app sound and turn this OFF.
This setting often redirects earpiece audio to other devices without you realizing it.
Fix My Ear Speaker Bluetooth in Android
Sometimes the problem can occur due to a Bluetooth issue. Fix Bluetooth hijacking problems. Here’s what to
- Disable Bluetooth completely.
- Then restart your phone.
Many Android devices get “stuck” trying to route audio to previously connected devices. After restarting, test your earpiece before re-enabling Bluetooth.
Clear App Caches
Yes, it is possible to fix the problem simply by clearing caches. Sometimes call audio preferences can get corrupted due to loads of app caches. Here’s how to fix routing glitches by clearing cache:
- Go to Settings → Apps → Phone → Storage → Clear Cache.
Samsung-Specific Audio Fixes
Turn off the media volume limiter that often affects earpiece volume. How to do it?
- Go to Settings → Sounds and vibration → Volume → Three dots menu → Media volume limit → turn OFF.
You can also try disabling mono audio and balancing speakers. You need to go to the settings again:
- Settings → Accessibility → Hearing enhancements → Turn OFF Mono Audio
- Then adjust the left/right sound balance to the center position.
If the problem is still occurring, try resetting network settings. This clears carrier-specific audio routing that causes problems. Try the following method:
- Settings → General management → Reset → Reset network settings.
Physical Hardware Solutions
Force-restart the connection by powering off completely, then pressing firmly around the earpiece area with two fingers for 10 seconds. This reseats loose internal connections that cause intermittent audio.
Ear Speaker Cleaner: Professional vs DIY Methods
When cleaning at home doesn’t fully solve the problem, you have two paths: professional services or DIY methods. Each has its pros and costs, so it’s worth knowing the difference.
Professional Cleaning Technology
Professional technicians use multiple methods to repair an ear piece speaker. Here are the methods and how they use them:
- Ultrasonic cleaning machine: It creates microscopic bubbles in a cleaning solution that vibrate at high frequencies, shaking loose dirt and dried liquid inside the speaker module.
- Requires complete disassembly: The earpiece must be removed from the phone first, which means disconnecting the flex cable that links the ear speaker to the board.
- Manual methods by technicians are safer than careless DIY attempts because they have proper tools and experience
- Complete disassembly process – technicians open the phone, detach the assembly, and either deep clean it or prepare for full ear speaker replacement.
- Replacement of ear speaker: Replacement becomes necessary when cleaning doesn’t restore performance. The technician removes all the parts to take out the speaker and insert a new one.
Ear Speaker Repair Cost: Professional vs DIY
Getting your ear speaker serviced by a repair shop isn’t always cheap. Labor and parts costs vary, but here’s a rough idea:
- Basic cleaning service: $30–$50
- Full replacement: $80–$150 (depending on model and whether OEM parts are used)
Safe DIY Techniques
If you’re looking for how to fix my ear speaker on my phone by myself, here is a safe approach:
- First, power down completely and disconnect all accessories. Remove any case or screen protector that might interfere with cleaning access.
- Next, remove initial debris using compressed air held at 6+ inches distance. Use short bursts at 45-degree angles to push particles outward, not inward. Work around the entire earpiece perimeter.
- Then dampen (don’t soak) a soft toothbrush with 91% isopropyl alcohol. Gently tap the bristles against the speaker mesh. The thin bristles penetrate the holes while alcohol dissolves adhesive residues.
- Lastly, do air cleaning to remove loosened particles and evaporate remaining alcohol. Hold your device earpiece down so gravity assists debris removal.
- After this manual fixing method, make a test call after 5 minutes of drying time to verify restoration of clear audio.
If you’re afraid of doing these on your own, use our acoustic vibrating sound tool for cleaning the speaker to solve your concern relating to how to fix my ear speaker cleaner sound.
Safety Precautions for Cleaning
- Safety equipment: Good lighting, a steady work surface, and patience. Never use water-based cleaners, cotton swabs (too thick), or metal tools that can damage mesh.
- Environmental considerations: Work in low-static conditions. Avoid carpet or synthetic clothing that generates static electricity. Clean in well-ventilated areas for alcohol evaporation.
- Technique safety: Never press hard with brushes, never use continuous air streams longer than 2-3 seconds, and never attempt cleaning while powered on.
DIY vs Professional vs Replacing Ear Speaker Cleaning
Here’s a quick comparison between the methods you can follow for your problem on how to fix my ear speaker:
| Method | Pros | Cons | Cost Range |
| DIY Cleaning (toothbrush + compressed air) | Cheap, quick, and safe for light dust and debris | Won’t fix deeper diaphragm damage; risk if air is sprayed too close | <$10 (basic tools) |
| Professional Cleaning (manual or ultrasonic) | Deeper clean, can reach internal debris | Requires opening the phone, which is risky if poorly done | $30–$50 |
| Ear Speaker Replacement | Permanent solution for damaged ear speaker | Higher cost, requires professional skill, may affect warranty | $80–$150+ |
Fix My Ear Speaker Bass and Audio Quality Enhancement
When you search for fixing speaker bass, you’re looking for solutions to improve your earpiece audio. While it’s not possible to fix the bass problem completely, here are actionable steps to maximize your earpiece performance:
Increase Available Frequency Range
Adjust EQ Settings
You can increase the frequency range by adjusting EQ settings. If you have iOS, you need to follow the below method to access EQ:
- Settings → Music → EQ → “Spoken Word” preset optimizes voice clarity.
And if you’re an Android user, you need to perform the task by following way:
- Settings → Sound → Sound quality and effects → Equalizer → “Clear” preset.
Audio Enhancement
Another method of improving bass is by enabling audio enhancements. Turn on phone noise cancellation (iOS) or HD Voice (Android) to sharpen existing frequencies your earpiece can handle.
Monthly Cleaning
Clean your earpiece monthly to restore full frequency response. Even minor dust buildup cuts volume and clarity significantly.
Alternative Solutions for Better Audio
Use Speaker Mode
Switch to the main speaker for music. Your bottom speaker handles bass frequencies that your earpiece can’t. Use speaker mode when you want fuller sound.
Use Earphone
Get dedicated earphones for audio quality. Even $20 wired earphones reproduce bass your earpiece physically cannot. However, Bluetooth earbuds offer wireless convenience with a proper frequency range.
Volume Amplifier Apps
Use volume amplifier apps like Sound Amplifier (Android) or Accessibility Volume Boost (iOS) to maximize your earpiece output without distortion.
Optimize Call Audio Quality
- Increase in-call volume during active calls using side buttons. This adjusts earpiece-specific settings separate from media volume.
- Enable HD Voice calling in your carrier settings for clearer voice transmission that works within your earpiece’s range.
- Position your phone correctly. Hold it so the earpiece sits directly over your ear canal for maximum sound transfer.
When to Use Each Speaker
Here’s a quick table of when you should use the earpiece speaker, main speaker, and solution to improve bass quality:
| Method | When to Use |
| Ear Speaker | Private calls, voice messages, and podcasts at low volume. |
| Main Speaker | Music, videos, speakerphone calls, and any content needing bass. |
| Earphones | High-quality music, gaming, long listening sessions, and bass-heavy content. |
Fix My Ear Speaker CC and Audio Codec Issues
Digital audio codecs play a crucial role in how sound reaches your ear speaker, and codec problems can seriously affect your call quality. If you’re dealing with ear speaker CC issues, here’s what you need to know and do.
Understanding Codec Problems
Audio codecs compress and decompress sound data before it’s sent to your earpiece.
When codecs malfunction due to software bugs or incompatibility, audio may drop out, become distorted, or be routed incorrectly. This is especially common in wireless setups involving Bluetooth headsets.
Bluetooth Codec Troubleshooting
Since many earpiece problems happen when using Bluetooth, start by disabling Bluetooth entirely and testing your call again. If sound improves, the problem is likely codec-related within your wireless connection.
Be sure your iOS or Android device is running the latest updates, as these often include bug fixes for codec handling. In developer options (on Android), try switching between different Bluetooth codecs like SBC, AAC, or aptX to see if that resolves quality issues.
Software Codec Reset Procedures
Resetting audio settings clears corrupt codec configurations that may cause ear speaker CC (Communication/Call Codec) problems. Here’s how to reset:
- On iOS: Reset all settings via Settings → General → Transfer or Reset iPhone → Reset → Reset All Settings.
- On Android: Settings → System → Reset options → Reset Wi-Fi, mobile & Bluetooth.
After resetting, restart your phone and retest the earpiece to see if audio quality improves.
Prevention Tips for Long-Term Ear Speaker Health
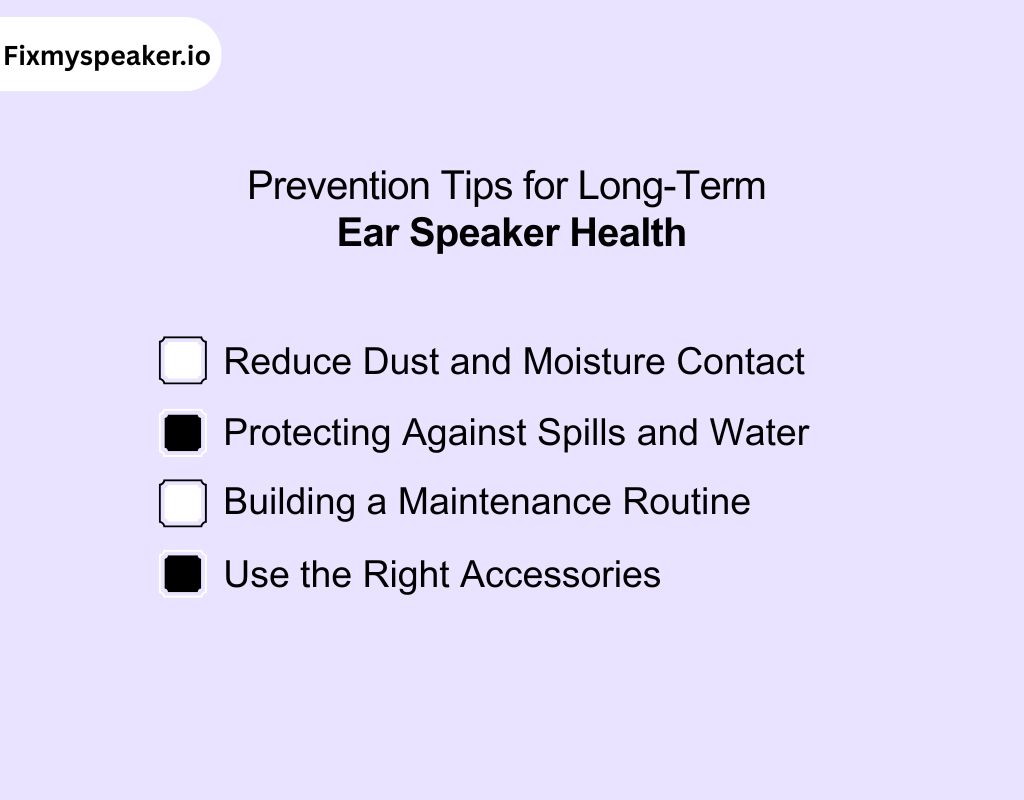
Fixing your ear speaker once is helpful, but keeping it healthy long-term saves you money and frustration. With a few habits, you can reduce the chances of muffled audio or complete failure. Such as:
Reduce Dust and Moisture Contact with Your Cell Phone
As you now know how dust and moisture can affect the diaphragm and audio quality, you should be conscious about it. Try using mobile patches found online to protect speakers. It’ll help reduce dust buildup most importantly.
Protecting Against Spills and Water
You need to be careful about your phone when you’re around water. If you live in a humid area or carry your phone near pools or kitchens, the risk is higher. The best habit? Keep the device away from water-heavy environments and wipe it down immediately if it gets damp.
Building a Maintenance Routine
Like any part of your phone, the ear speaker also benefits from regular care. A good schedule:
- Lightly clean the speaker grill once a week with a dry brush.
- Inspect the mesh monthly for lint or dirt.
- Do a quick test call every now and then to check for muffling.
- These small steps help catch problems early before they grow into costly repairs.
Use the Right Accessories
Protective cases can shield your device from drops, but they sometimes trap dust. Pick one that fits tightly without covering the top grill. Screen protectors should leave the ear speaker slot clear too.
FAQs
Why is my ear speaker staticy?
Static usually happens when dust, moisture, or a damaged diaphragm disrupts vibration. In some cases, Bluetooth interference or a failing flex cable also causes distortion.
How to clean a muffled speaker?
Start by brushing the grill gently with a soft toothbrush to remove trapped particles. For sticky residue, use a lightly dampened cloth with isopropyl alcohol and let the area dry. If muffling continues, moisture may be trapped inside, and a sound-based cleaning method can help.
How do I fix my ear speaker if cleaning doesn’t work?
If debris removal doesn’t restore clarity, try restarting or resetting your device to rule out software glitches. Test audio through both ear speaker and loudspeaker to isolate the fault. If voices are still faint, it may require an ear speaker replacement by a repair technician.
Conclusion
So, you now have the answer to your question about how to fix my ear speaker. You can try to do the fix either by yourself, following our methods, or take it to a professional.
And in the case that you need to fix the ear speaker quickly, you can use our acoustic vibrating tool for taking out dust and moisture through triangular and square waves. Don’t ignore bad speaker symptoms to prevent a larger ear speaker issue that needs costly repair.